A common issue we have noticed with the second generation of Mini Coopers is the rubber button cover on the rear hatch handle disintegrating and leaving the electronic switch open to the elements. This can cause several issues resulting in the hatch spontaneously opening or ceasing to function entirely. To remedy this, we carry aftermarket rubber covers that are more durable than the OEM rubber. Replacement time is about 30 minutes and requires basic tools to complete.
Tools needed:
- T20 Torx (Ratchet or Torx screwdriver will suffice)
- Small picks or a pocket Screwdrive

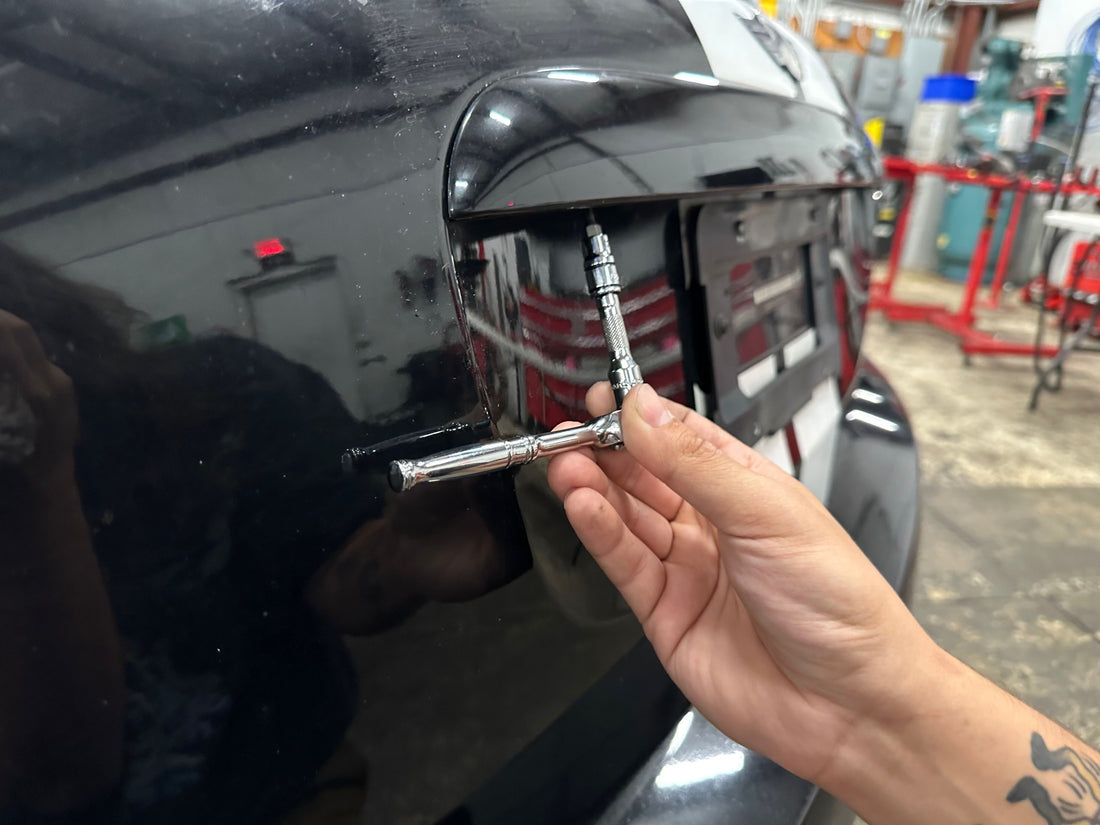
Removing the hatch handle
To start, you will first remove the lift handle from the hatch. There are four T20 Torx screws that hold it in place. Remove all 4 screws and the handle will come free from the hatch. Be careful though, the wire connecting the handles electronics to the body is still attached and is fragile. 
At this point, all you must do is disconnect the hatch handle connector. There is only a small clip holding the wire and the connector, so not much force is required to pull them apart. Hold the body side of the connector and firmly pull the handle to disconnect them.
Removing the old rubber cover
Before you can install the new rubber button cover you must remove the leftover material from the handle. I used a combination of Oil filter Gasket picks and a small pocket screwdriver. The left-over rubber tends to be very gooey and can leave residue behind on the plastic, so be sure to use a microfiber rag and dish soap to remove the rest.

Installing the new rubber cover
Make sure that when you are installing the rubber cover that the indent is inserted into the ridge on the handle, otherwise you will have an incomplete seal and risk water or other contamination entering the handle. 

To insert the new rubber piece into the handle, place the corner of the rubber into the handle. 
Once the corner is snuggly fit, you can begin pushing the edge of the rubber into the handle. This process can take a few tries, the rubber can pop out if pressure is not evenly applied across the piece.

It is important to not use picks or screwdrivers to push the rubber in, as they can easily puncture the rubber. The new rubber cover should sit flush once installed.

Reinstalling the hatch handle
To reattach the handle the steps are the reverse of removing it. But before you do, it is a good idea to clean the area under the handle. For me personally, after I saw how dirty it was I would not be able to sleep at night knowing my Mini had dirt where no one could see it.

Dirty :(

Clean :)